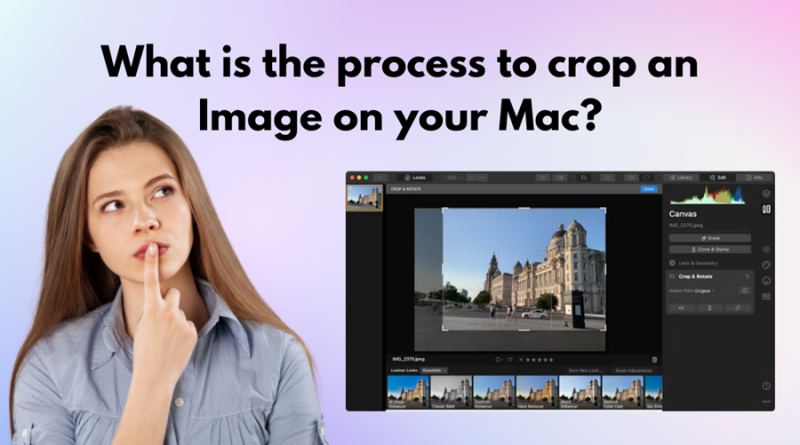
What is the Process to Crop An Image On Mac?
If you have taken a picture then, I am sure you were frustrated to see different things in your frame. It is very rare to get only what you want in the picture frame as you often see different things like people and this can spoil the picture that you have taken.
Fortunately, people have the option to crop an image to make it more desirable by removing the elements that they don’t want in the picture. You can crop your picture to keep the original subject intact and remove all the other things that you do not want. In this guide, we are going to tell you the process by which you can crop an image on your Mac, so get ready to know How to crop an Image on Mac.
What are the things to consider before cropping an image on your Mac?
If you want to crop an image on your Mac then, there are a few things that you need to consider before you start cropping any image.
- Pick the final shape of the image
There are many editing applications that allow you to choose the final shape that you want before you start editing to ensure that your image turns out the same that you want.
- The focal Point of your image
The reason why people crop images is to focus on a certain point and this is why you should also pick the focal point of your image.
- Think about other editing features
You need to think whether you simply want to crop your image or you also want to adjust other elements of the image like its lighting or colours.
- Always create a duplicate
It is possible that you do not like the image that you have cropped and this is why you need to make a duplicate of the image so that you have the original image before you start editing.
These are the different factors that you need to think about before you start editing your image. In the next part, you will know how to crop on mac.
What is the process to crop an image on Mac?
You can easily crop an image on your Mac using the Photos app and for this, you need to adhere to the directions that we are giving here.
- Access the photos application and pick the image that you want to crop by double-clicking on it.
- Now, you need to hit the “edit” option available at the top of the screen.
- The crop option is available on the screen. Choose the same option and pick the ‘Aspect’ option.
- You can now drag the corner of the grid to crop photo mac or you can also choose Freeform to crop the image as you want.
- The last thing that you want to do is to press the Done button to save the image that you have cropped.
This is the simple procedure that you need to adhere to when you wish to crop an image on your mac.

